
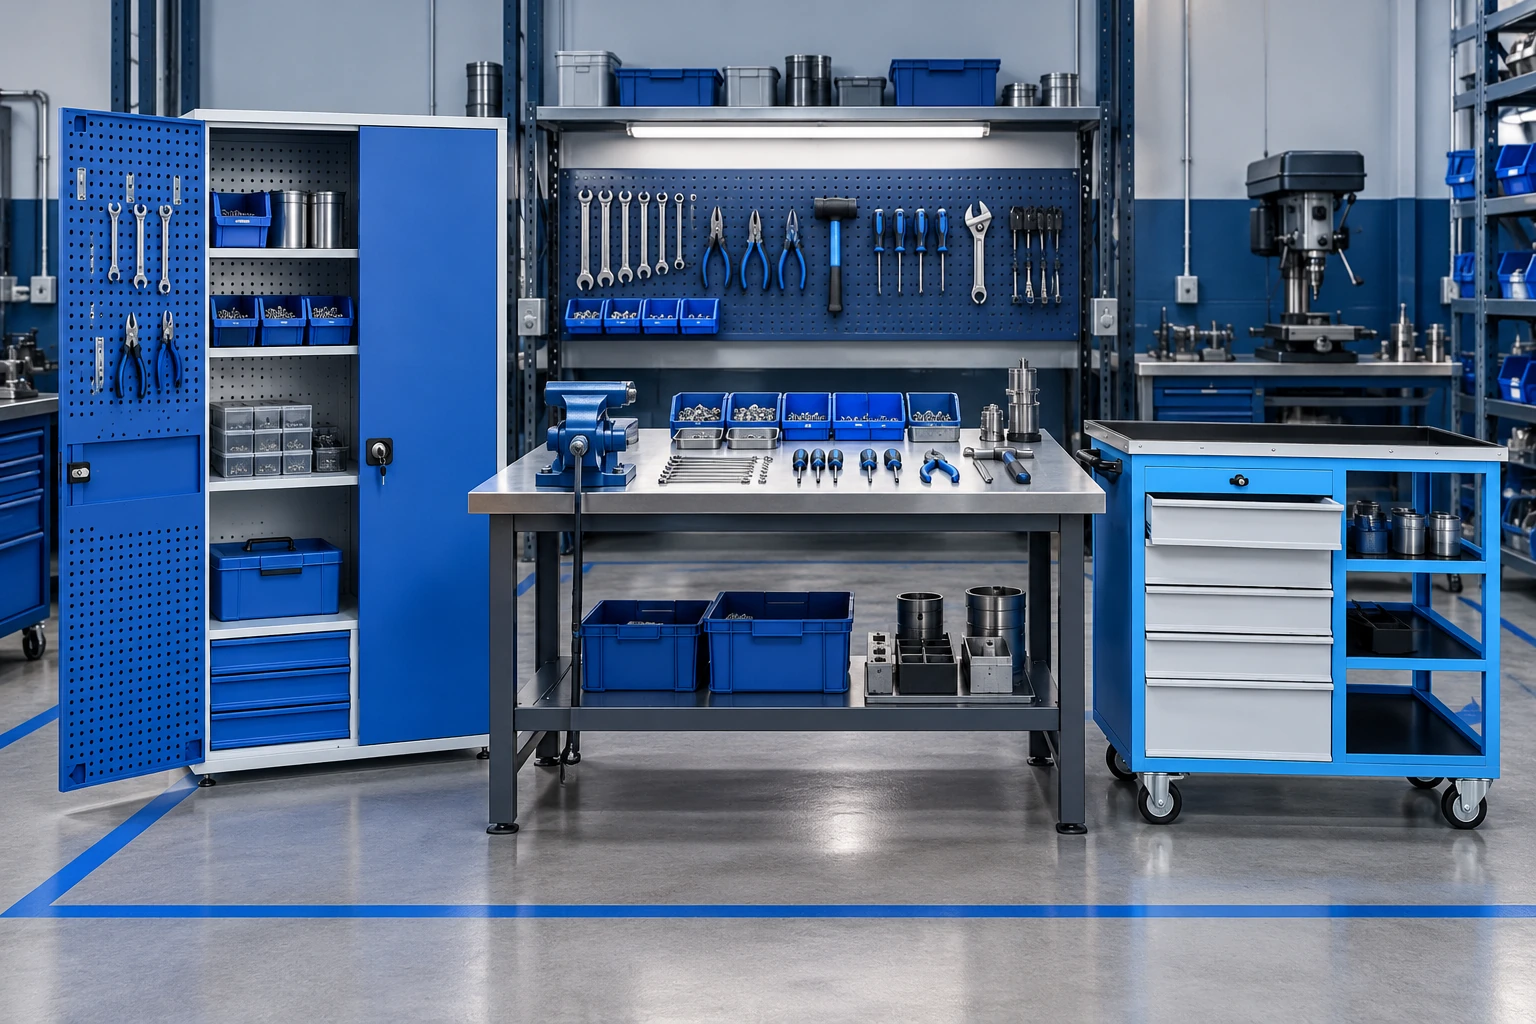
Choose a manageable pilot area
The US EPA describes 5S through five steps: sort, set in order, shine, standardise and sustain. For a workshop, a useful starting point is one shared bench, tool cabinet or maintenance preparation area. You do not need to reorganise the entire building before discovering what works for the team.
Record the current situation with a photograph and a short observation note. Ask users which items are difficult to locate, where materials become mixed and where work regularly pauses. Set a concrete objective, such as returning shared measuring tools to defined locations or separating similar fasteners so that they can be identified without opening several boxes.
Sort items and resolve uncertain ownership
Review what belongs in the area and how often it is used. Separate everyday equipment from occasional items and objects whose purpose is unclear. Instead of immediately discarding uncertain material, create a temporary review location with a named decision maker and a review date. This gives the team a chance to identify equipment that still has a purpose.
Damaged tools, spare parts and personal belongings can make the same drawer difficult to manage. Agree how each group will be handled. Give repair items a visible status and a route for follow-up. Review temporary holding boxes on schedule so that the sorting exercise does not simply create a new permanent pile somewhere else.
Give each item an understandable location
Do not group parts solely because they look similar. Their part numbers, point of use and position in the work sequence can be better guides. Involve the people doing the work when assigning everyday tool locations. Drawer partitions, panel layouts and labelled bins can make the chosen arrangement visible and repeatable.
Colour can support identification, but provide a readable name or code as well. Separate the identity of a part from its location code, because a part may move to another shelf later. Ask someone unfamiliar with the pilot area to find and return several items. Their experience can reveal unclear labels or arrangements that depend on personal memory.
Connect cleaning and standards to daily work
When restoring the area, record issues that need attention: missing tools, loose accessories or unused material accumulating inside a cabinet. Establish where these observations should be reported. An issue that is noticed without a follow-up route may simply reappear for the next shift, even though the area initially looks tidy.
Keep an accessible photograph of the agreed layout, a short contents list and clear responsibilities. The standard does not need to become a lengthy manual. A simple example that can be updated when the job changes may be more useful. Ensure that different shifts have access to the same information and new colleagues receive an explanation.
Build a short review cycle
After the initial change, ask which labels are confusing, which bins overflow and which tools repeatedly move. Treat recurring problems as information about the layout. The arrangement may need adjusting to fit the work. Agree the change with users and update the visual example so that the written standard matches the actual station.
- Name the pilot area and its owner.
- Assign review dates and owners to uncertain items.
- Use readable names and location codes.
- Include a brief return-to-place check at shift handover.
- Record user feedback and revise the layout when needed.
Frequently asked questions
Does 5S require replacing all workshop furniture?
No. Begin with the existing equipment and workflow. A pilot can help reveal where additional storage or a different configuration would actually be useful.
Can a 5S exercise be completed once and forgotten?
Keeping the arrangement useful requires ownership and recurring review. When jobs, inventories or users change, revisit the layout and its instructions.